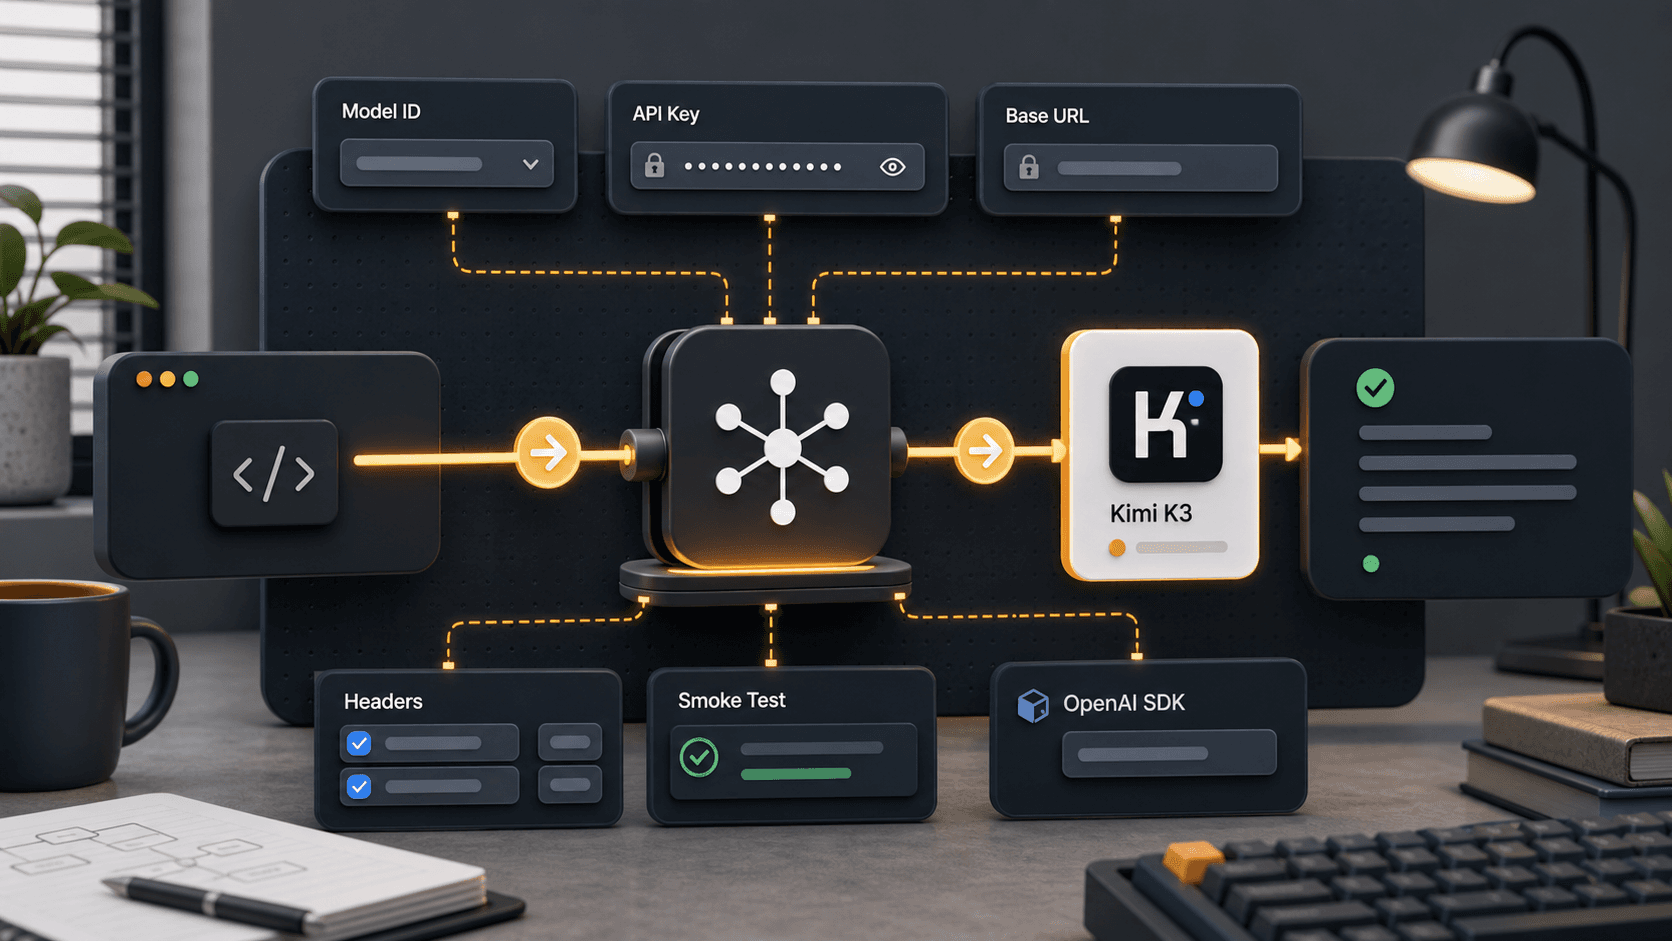
How to use Kimi K3 on OpenRouter comes down to three checks: use the current Kimi K3 model ID, create an OpenRouter API key, and run the same test prompt through your OpenAI-compatible client. OpenRouter is useful when you want to compare Kimi K3 beside other models without rebuilding your API layer.
This tutorial focuses on the OpenRouter path only. For model size, release date, subscription access, and broader benchmarks, use the Kimi K3 model profile.
Part 1: Set Up Kimi K3 on OpenRouter
Start with the smallest working request. Create an OpenRouter key, store it outside your code, point your OpenAI-compatible client to OpenRouter, and run one short request before you build a larger workflow.
Treat the model slug, context window, provider status, and pricing as values to confirm inside your OpenRouter account before deployment. They can change faster than your application code, so avoid hard-coding assumptions beyond the current model ID you actually test.
Use the OpenRouter API Base URL
Do not change your whole SDK stack first. If your app already uses the OpenAI SDK, point the client to OpenRouter's API base URL and use your OpenRouter key.
import OpenAI from 'openai'

const openai = new OpenAI({
  baseURL: 'https://openrouter.ai/api/v1',
  apiKey: process.env.OPENROUTER_API_KEY,
  defaultHeaders: {
    'HTTP-Referer': 'https://your-site.example',
    'X-OpenRouter-Title': 'Your App Name',
  },
})

const completion = await openai.chat.completions.create({
  model: 'moonshotai/kimi-k3',
  messages: [
    { role: 'user', content: 'Give me a three-step API smoke test plan.' },
  ],
})
Run a Minimal cURL Test First
A short cURL request helps you separate credential problems from SDK or app problems. If this fails, fix the key, model slug, headers, or account billing before debugging your application code.
curl https://openrouter.ai/api/v1/chat/completions \
  -H "Content-Type: application/json" \
  -H "Authorization: Bearer $OPENROUTER_API_KEY" \
  -d '{
    "model": "moonshotai/kimi-k3",
    "messages": [
      {
        "role": "user",
        "content": "Reply with one sentence confirming this Kimi K3 OpenRouter test works."
      }
    ]
  }'
Part 2: Test Kimi K3 Before Production Use
One successful API response is not enough. Kimi K3 on OpenRouter should be tested on the same tasks you expect to run later: code edits, long-context retrieval, structured output, latency, and cost-sensitive requests.
AI Prompt for the First Kimi K3 Smoke Test
Use this after your API request works and you want a clean first quality check.
Act as an API smoke-test assistant.
Return a short checklist for verifying a new model integration.
Include authentication, model ID, response format, latency, token usage, and error handling.
Keep the output practical and under 10 bullets.
- - Add your app name or workflow.
- - Add the OpenRouter model slug you are testing.
- - Add any latency, budget, or response-format limit.
AI Prompt for Coding Comparison
Use this when comparing Kimi K3 with your current coding model through OpenRouter.
Solve this coding task with the smallest safe change.
Explain the files you would inspect, the change you would make, and the test you would run.
Return the final answer as a patch plan, risk note, and verification checklist.
- - Paste the bug report, failing test, or code snippet after the copied prompt.
- - Add the language, framework, and files if known.
- - Run the same prompt against your baseline model for comparison.
Check Errors Before You Scale Usage
Watch for model slug errors, 401 authentication errors, 429 rate limits, provider routing failures, and unexpectedly large token usage. These problems are easier to fix during a small test than after your app starts sending real traffic.
- 1. Confirm the model ID: use the exact Kimi K3 ID available in your OpenRouter account before assuming an alias is stable.
- 2. Log usage: record request size, output length, latency, and cost-related fields.
- 3. Add a fallback: choose one cheaper or more available model for non-critical requests.
- 4. Separate test prompts: keep coding, long-context, and general chat tests in different cases so failures are easier to diagnose.
When OpenRouter Is the Right Path
Use OpenRouter when you want side-by-side model testing, one API layer, and fast provider switching. Use the direct Kimi API or Kimi Code path when you need Kimi-specific membership features, direct provider behavior, or the official Kimi coding workflow.
Conclusion: Start with a Small, Repeatable Test
Use Kimi K3 on OpenRouter first as a controlled comparison. Confirm the model ID in your account, run a cURL smoke test, plug the OpenRouter base URL into your SDK, then compare Kimi K3 against your current model on the same prompts before moving production traffic.